Note: REQUIRES Apple Pencil
Introducing COLOR STUDY - Inspiring, color-dynamic brushes developed for Procreate 5 that let you feel color in your hands!
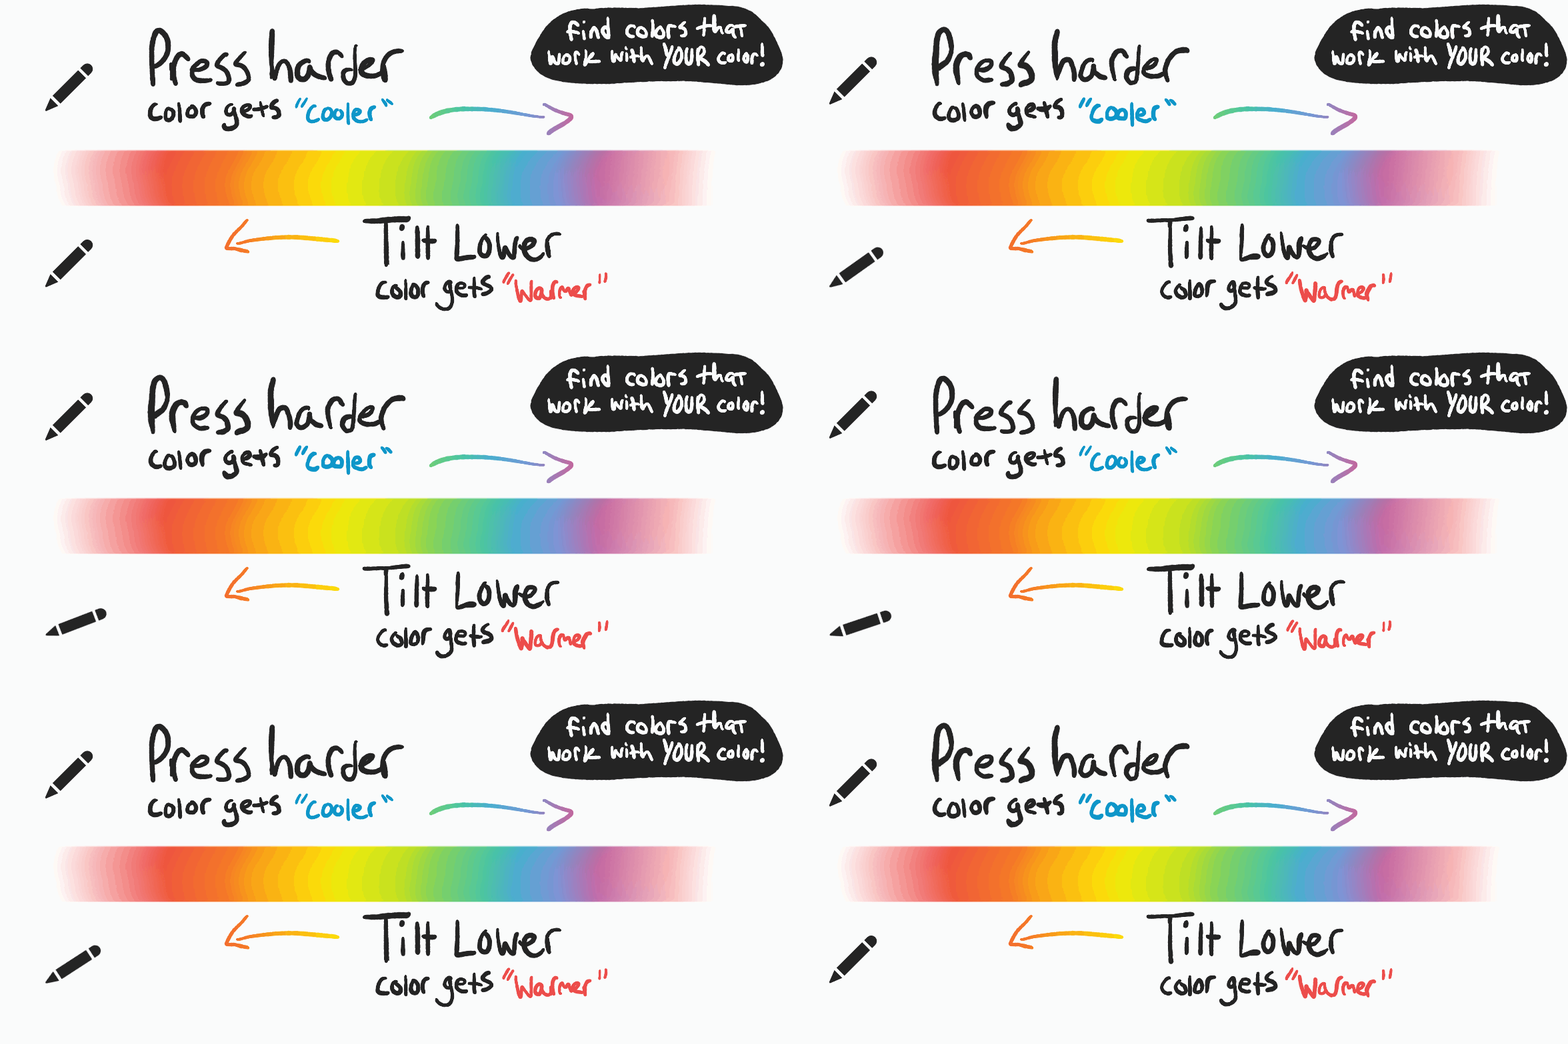
Quickly discover fresh and vibrant color combinations from a single color, instantly lay down rich colorful backgrounds, and add painterly textures with subtle and dynamic color variation. With these brushes you control the color with pressure and tilt, designed for maximum color fun. Carefully calibrated hue/saturation/brightness curves were designed over months to generate not only useful colors, but downright purdy. Great for your own color studies, and finding combinations you might not have considered!

COLOR STUDY Includes 23 SUPER fun and colorful Brushes:
-
2x Gradient Shaders: Sometimes you just need the color and no texture! These are simple large and soft brushes with all the color programming of the other brushes. The "Gradient Shader Secondary" lets you control the gradient colors with your active primary and secondary colors.
-
Chalker/Bubbler/Directional Palette Knife: These put down a lot of texture and let you paint in directional strokes that overlay shapes for interesting results, probably some of the main "go-to's" of this set.
-
Spatter Thin/Spatter Dense: These are textural ink spatter, one with a lighter amount of spatter and the other very dense.
-
Finger Painting/Finger Print Swipe: My favorite! These put down tons of finger print swipes in different orientations that layer so nicely and can yield some very realistic painterly effects you can't get elsewhere.
-
Sideway Palette Knife/Sideways Printer Error: These two brushes put down choppy rectangle-ish marks that always orient sideways, helpful for adding/distinguishing patterns and other textures.
-
Underpainting 1/2/3: Backbone of the set! Perfect for backgrounds and underpaintings. Great textures.
-
Circle/Square/Oval Liners: Perfect for adding abstract detail to figure out later (hey this is Color Study after all!), as you draw periodically puts down the respective shapes.
-
Square/Oval/Triangle/Round Scatter: More simple shapes but these go down as more dense clusters of shape-informed-texture.
-
Pattern Scattered: Angular dotted pattern perfect for adding a variety of dots in pleasing patterns.
-
Bonus - Wavy Peanut: A fun wavy peanut shape great for adding textural wavy lines.

Some general tips for these brushes:
- Using the lightest pressure, with the least amount of tilt will yield the closest to your original selected color. There is a slight hue/saturation variance no matter what.
- My favorite way to use these is being very "scribbly"! You can keep coloring over the same area with different amounts of pressure and tilt to really dial in the colors you want and their placement.
- This set works FANTASTIC with the "Quickshape" feature. Scribble your colors/gradient in, and then hold the pen still without lifting from the screen to enable Quickshape, which allows you to carefully drag your curve around, spacing it closer or further apart, and really move the color around with precision.
- One of the gradient brushes "Gradient Shader Secondary" uses only the primary and secondary colors you've selected in the Colors window (top-right). This is useful for creating specific color gradients of your choice, for example between a particular blue and red.

Procreate 5 is here, and its amazing! You can now install a LOT of brushes at once using the new Files app in iOS 11. We recommend backing up your purchase using an iCloud account (its free), or syncing them to Files with iTunes.
First things first... USE SAFARI on iPad!
Also make sure you open the link in the full Safari app (it must be Safari, no other browser will work), as the side-loaded one that gmail/other email apps use won’t work.
Note: Brush files end in *.brushset
Once you click the file name/download button, a blue arrow in a circle should appear in the top right corner of Safari. This is the "downloads" area. Tap this icon and you should see your download appear in a list like so:

Simply tap the file and it should automatically open in Procreate. Depending on if you've performed this before, it may ask you what you want to do with the file after tapping it, in which case you would simply find the Procreate icon and send it there.


